Are you sitting on your bike comfortably?
If you are not sitting comfortably on your bike, at best, you will not be able perform to your best ability, at worst, you can cause damage to yourself. So here are some useful tips from our Soft tissue therapist and Triathlon coach, Emily Chong, to get you settled on your saddle.
Buying a bike
Regardless of colours or brand, if a bike doesn’t fit, it’s no use to you. Each brand and each bike model has a different geometry, so a bike of the same size but different brand can fit completely differently. Bike size in general is denoted by seat tube length. While this is indicative of the bike size, if the top tube is too long, then you won’t be able to reach the handle bar. A seat post can go up and down by 20-40cm, handle bar reach can only be adjusted by switching to a shorter or a longer stem or adjusting its angle, and this can only be increased or decreased by a few cm. So if shop just asks how tall you are and hands you a bike, politely decline and escape immediately. Everyone has a different leg to torso length ratio, you could have a short torso / long legs or vice versa, narrower shoulders or smaller hands. You should always get measured first before buying a bike new or second hand. If the bike shop doesn’t measure at least all of these - torso length, arm length, inside leg length, shoulder width, hip flexion, don’t bother buying from them.
You can also DIY by downloading a bikefit app such as Size My Bike where you can input all the above measurements and generate a recommended geometry, you can then find a bike (by comparing its geometry) that most matches it and get a bikefitter to fine tune the fit.
There are places where they can measure you and build a bike to your specifics from prestigious makes such as Condor to the budget conscious Planet X. A bike that fits will 100% be faster than one that doesn’t, regardless of how high its spec it is.

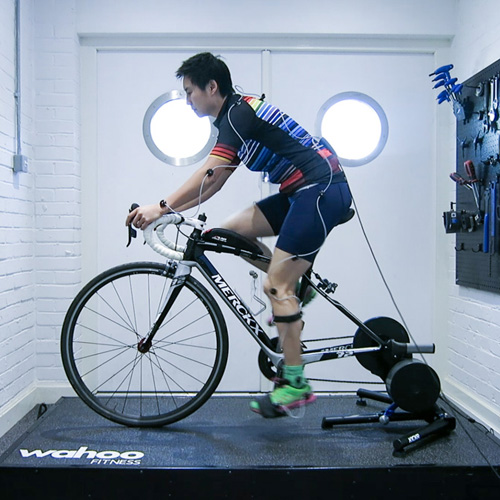
Worst and best riding positions.
Saddle sores
These are broadly two kinds of causes to this “pain in the butt” - friction and pressure. Most likely, pain is caused by both. Here is how to deal with it.
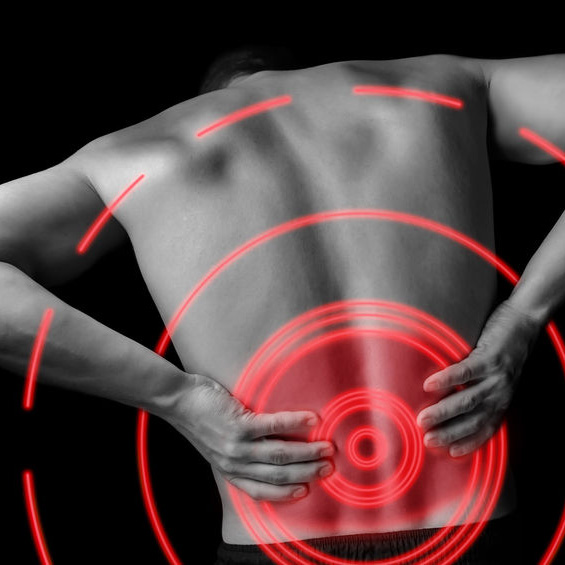
Pressure
If the pain feels like there’s too much pressure in a small area such as seat bones to the rear, or the soft tissue in the middle or in the general undercarriage area, then we need to first look at how hard you are pushing your pedals vs how much weight is on the saddle. To relieve the pressure, you’ll need to either increase the upward force by pedalling harder, go up a gear or reduce the downward force by lessening the weight on the saddle. If you are carrying a backpack for commuting, you could use a rack and panniers instead and you can also look at spreading your body weight between the handle bar and the saddle by leaning forward a little more.
Friction
If you are getting saddle sores that look like pimples, these are caused by follicle irritation or inflammation. Wearing bike specific shorts with pads (called chamois) will help as it covers the seams and provides a smoother surface. Bike shorts are supposed to be worn without any underwear (thus eliminating seams that would cause chafing) and with chamois cream (cream like lubricant) along the crease of your legs / bikini line and along the contact points between your bottom and the saddle. Any waxing and shaving will definitely increase the chance of follicles irritation, so it’s best to just trim hair to no shorter than 3cm should you feel the need to. For women, if the friction is felt in the middle soft tissue, try switching to a saddle with a centre cutout (see below), bike shorts that are not too heavily padded in the middle and apply “bedroom lubricant” to the inner tissue (regular chamois cream is not meant for internal use).

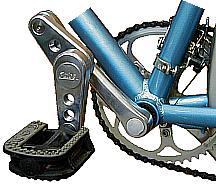
Saddle with a centre cut out
You could also try saddles with a split nose design which are becoming increasingly popular. These saddles are meant to be perched on with your seat bone therefore there is no body contact anything further in front. To be in this position, more weight will need to be through the upper body - which means these saddles are more suitable for Time Trial or tri bikes or racing bikes with handle bars much lower than the saddle.
Asymmetrical saddle sore
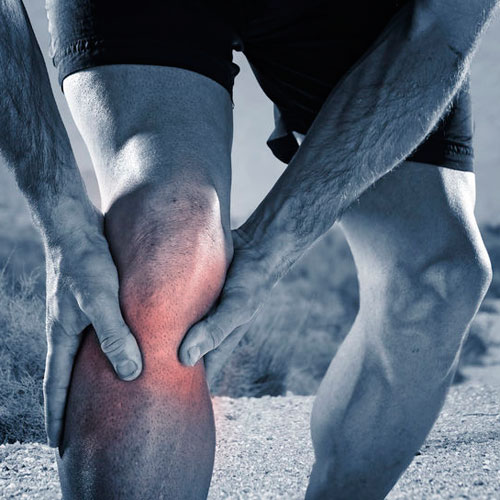
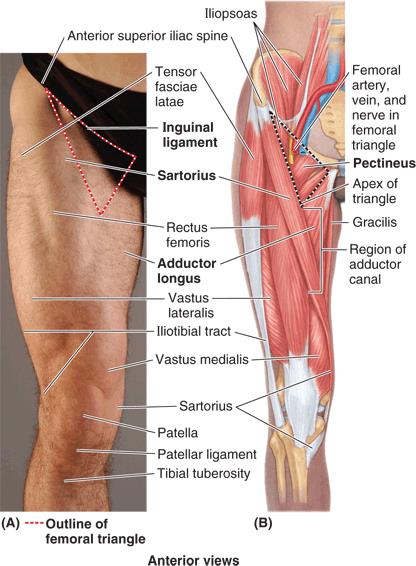
If you can see a pattern that only one side is affected, assuming your bike setup is symmetrical, then we’ll need a closer look to your range of movement and biomechanics. Issues such as limited back rotation, restricted knee bend and commonly tight hip flexors from prolonged sitting at your desk can contribute to your bike discomfort. It would be best to get checked out by a physio and focus on strength and conditioning.
Adaptive measures on the bike
If you have a condition that creates a permanent biomechanics impediment, for example a knee surgery that has limited how much you can bend one knee, then there are companies who can make adaptive changes to your bike from shortening your crank, to adding a swing crank to your pedal, all the way to a custom recumbent bike.
Not sitting comfortably?
If you’re not sitting comfortably on your bike, you can book a session with Emily, who is also a L3 bike mechanic, by calling us on 02030 12 12 22.
Happy riding!
Words by Emily Chong.